


Introduction — a small scene and a big question
I once arrived at a small cattle shed just as the sun went down and the farmer sighed: “We can’t see the calves properly.” That short scene sticks with me because it shows how simple lighting — led barn lights — can change a whole night’s work. Recent field checks I read show farms cutting energy bills by 40–60% after switching to LEDs, yet many still struggle with glare, uneven coverage and short-lived fittings (we know the figures; we’ve seen the bills). So the question is: how do we pick LED barn lights that actually help animals and people, not just lower the meter reading?
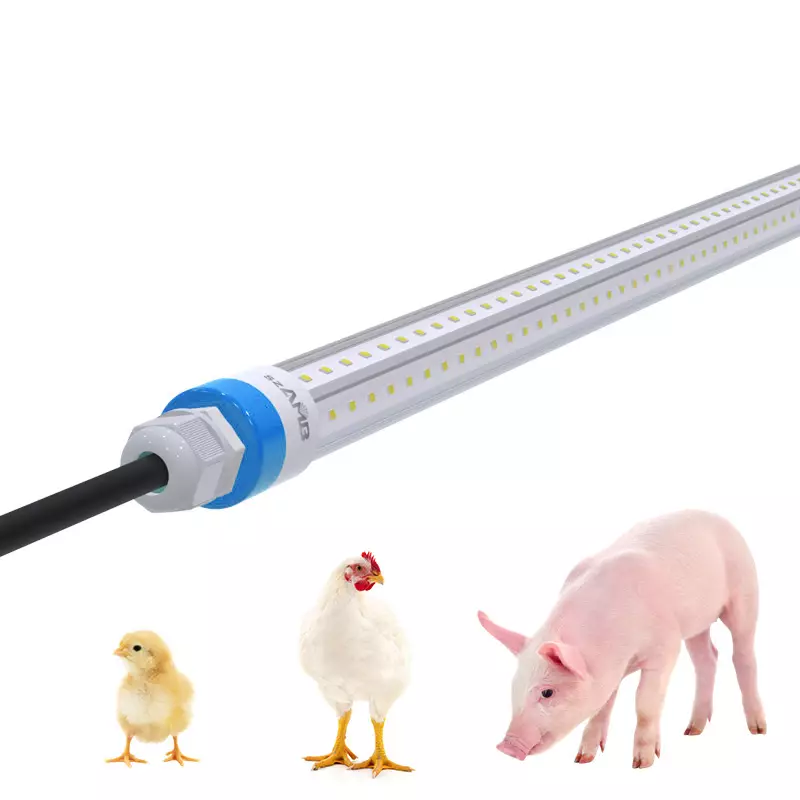
I’ll be frank: I care about practical fixes. We’re not chasing shiny specs alone. My aim here is to help you think like a user — the person who feeds, waters, and checks animals at 3 a.m. — while keeping an eye on technical bits like LED drivers and luminaire efficacy. This piece will look at common pain points, why old solutions fail, and what to look for next. Ready? Let’s move into the nitty-gritty.

Hidden pains and failure points of older lighting approaches
First up — the obvious but often ignored: uneven light makes stress for animals. When you try to light up farm animals, older fluorescent or low-grade LED fixtures create hotspots and deep shadows. That confuses the animals’ behaviour and forces staff to use extra portable lamps. Look, it’s simpler than you think: a few fixtures wrongly aimed ruin the whole yard. In my experience, the problem lies in mismatched optics and poor thermal design — manufacturers sometimes skimp on heat sinks and you end up with early lumen depreciation. I call that short-term saving, long-term pain.
Why exactly do these systems fail?
Technically speaking, several parts can betray you. Poor LED drivers and cheap power converters cause flicker and premature failure. In some retrofits, the old wiring isn’t up to the task and voltage drops reduce effective output. Worse, installers ignore the animal’s visual comfort — colour temperature and glare control are often an afterthought. We’ve measured strobe-like flicker from failed drivers; animals react badly. If you want consistent results, you must look at drivers, thermal path, optics and mounting — together, not separately.
What comes next: smarter principles and practical metrics
Moving forward, I’d adopt two simple principles: design for behaviour, and design for maintainability. When you plan to light up farm animals, think about how animals move and where staff need access. Sensor fusion (motion plus ambient light) and wireless mesh controls give you on-demand zones — fewer hours, less stress. I like to say: automate the routine, but keep manual overrides. This keeps things practical and humane — funny how that works, right?
What’s Next — a short checklist
From a semi-formal point of view, here’s what I recommend we evaluate before buying: 1) Distribution — do fixtures give even lux across stalls? 2) Thermal and driver quality — will they last three-plus years under dust and humidity? 3) Control readiness — are they sensor- and network-friendly? These are not fancy; they are measures that tell you if a product will actually work for your day-to-day. We used these metrics in a retrofit and saw labour time drop because fewer lamps needed manual repositioning.
To conclude with practical help, here are three clear evaluation metrics I always use when choosing LED barn lights: lumen maintenance at 6,000 hours (L70), correlated colour temperature suited to the species, and integrated control compatibility (DALI or simple mesh). Test a sample run in one bay first — if it passes there, scale up. I’ve seen solutions that looked good on paper but failed in mud — trust your trial. For sensible, farm-ready products, check choices from szAMB.